When it comes to training a large Deep Learning model, there are many obstacles that we need to overcome. First, we need to acquire lots and lots of data. Training relies on other steps such as fine-tuning our architecture and hyperparameters, the accuracy, and building some sort of logging and visualization. Obviously, we should keep track of progress and many many more. However, one of the most frequent struggles is the lack of hardware resources. Most of us don't own an NVIDIA Titan RTX or we don't have access to a cluster of PCs, so we are forced to wait hours and hours on each training iteration to evaluate our model.
I also understand that we are tempted to buy a high-end GPU. And to be honest with you I have already tried it. Nevertheless, there is a much easier way to train our models and I'm sure you're aware of that. It’s called Cloud. Cloud providers such as Google cloud, Amazon Web Services and Microsoft Azure are excellent examples of low cost, high-end infrastructure. Cloud is usually targeted to machine learning applications.
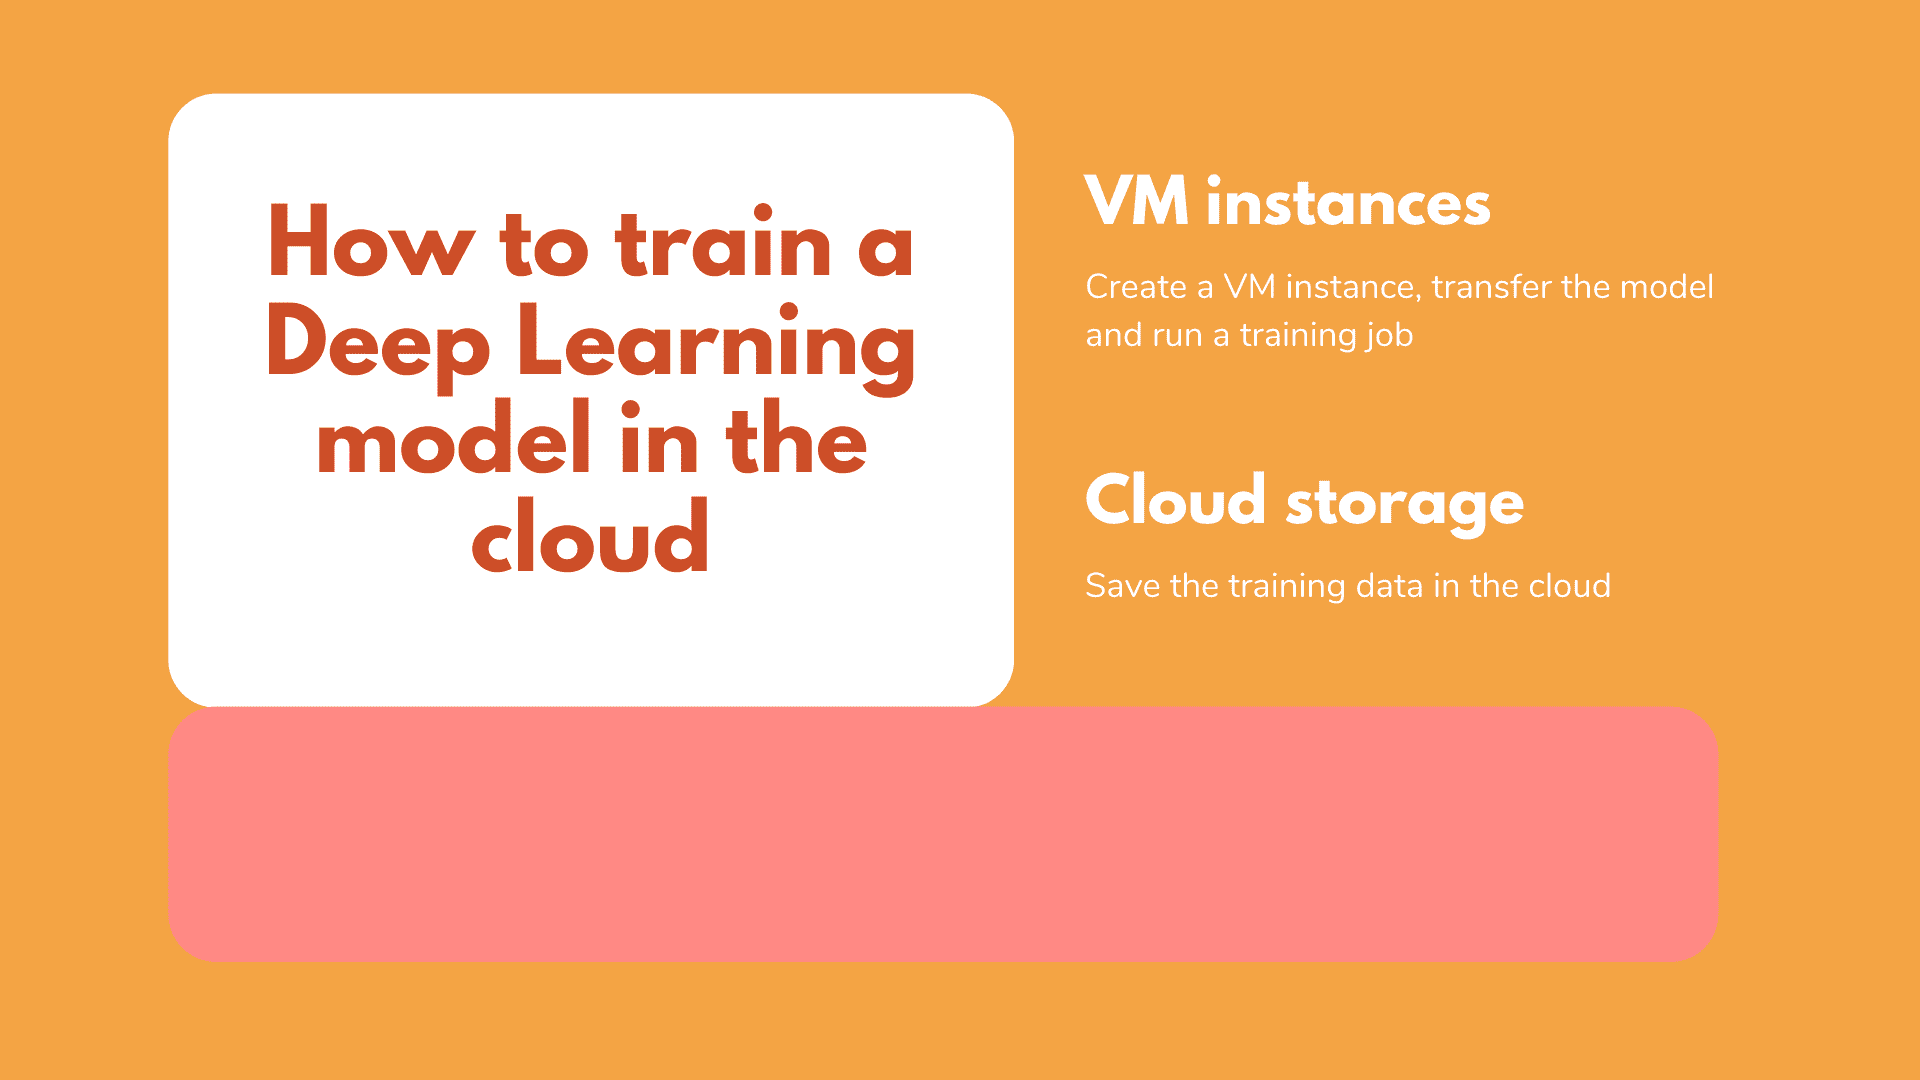
In today's article, we will take our previously built Unet model that performs image segmentation, deploy it in the Google cloud and run a full training job there. If you remember from our last article of the series, we developed a custom training loop in Tensorflow. The goal is to take that code almost unchanged and run it in a Google cloud instance.
What is an instance you may think? We will get there,don't worry.
Regarding the structure of the article, I think I should take it step by step and explain important topics and details while I'm outlining all the necessary instructions to reach our end goal.
Shall we begin?
Cloud computing
I'm sure you know what cloud computing is but for consistency reasons, let's give a high-level definition.
Cloud computing is the on-demand delivery of IT resources via the internet. Instead of buying and maintaining physical servers and data centers, we can access infrastructure such as computer power and storage from cloud providers.
About 90% of all the companies in the world use some form of cloud service today. I hope that's enough to convince you about the power of the Cloud. And the most astonishing thing is that you literally have access to a huge variety of different systems and applications that would be unimaginable to maintain on your own.

Woooah, am I right?
For our use case, we're gonna need only one of all the services called Compute Engine. Compute Engine let us use virtual machine instances hosted in the Google servers and maintained by them.
A virtual machine (VM) is an emulation of a computer system. Virtual machines are based on computer architectures and provide functionality of a physical computer. Their implementations may involve specialized hardware, software, or a combination of them.
So, in essence we borrow a small PC in Google servers, install whatever operating system and software we may want (aka build a Virtual Machine) and do remotely whatever we might do in our own local laptop. It’s that simple.
OK now that we know the basics let's proceed with a hands-on approach. If you haven't created a Google account by now, feel free to do that. All you have to do is go here, register an account (a credit card is required for security reasons but it won't be charged for at least a year or if you surpass the free quotas) and enjoy a full 300$ free credit (at least at the time of writing this post).
One thing I forgot to mention is that in most cases the cloud follows a pay as you go pricing model, meaning that we get charged depending on how many resources we use.
Creating a VM instance
Once you have a Google cloud account, it's time to create a brand new project to host our application by clicking on the top left “New project” and naming it whatever you like.

When the project is initialized, we can navigate to: Compute Engine > VM instances from the sidebar on the left and create a new VM.

As you can see in the image above you can customize the instance in any fashion you like. You can choose your CPU, your RAM, you can add a GPU and you can make it as high performant as you need. I'm gonna keep things simple here and select a standard CPU with 3.75 GB of memory and an Nvidia Tesla K80. And of course you can pick your own OS. I will use Ubuntu’s 20.04 minimal image with a 10GB disk size.

You can also select some other things like deploying a container to the instance or allow traffic from the Internet, but let's not deal with them right now.
Connecting to the VM instance
OK great, we have our instance up and running. It's time to start using it. We can connect to it using standard SSH by clicking the SSH button. This will open a new browser window and give us access to the Google machine.

As you can see we literally have access through a terminal to a remote machine in Google servers and as you can imagine we can install what we want as we would normally do in our laptop.
The next step is to transfer our data and code into the remote machine from our laptop. Google cloud uses a specialized command called “gcloud” that handles many things such as authentication (using SHH under the hood). A similar command exists in almost all cloud providers so the following steps have pretty much the same logic.
SHH is a protocol that uses encryption to secure the connection between a client and a server and allow us to safely connect to a remote machine.
You can very easily download and install the Google cloud SDK following the excellent docs here. Actually, it's quite straightforward and it's only 5 commands you need to run. After than that we can very easily connect to the instance from our local terminal using
gcloud compute ssh training-instance
And we are now inside the remote instance from our terminal. How cool is that?

Note that we can close the connection and return to the local terminal by typing “exit”.
Transferring files to the VM instance
To transfer the files from our local system to the remote instance, we can use the “gcloud scp“ command. I will transfer the whole project in the instance so we can run the training exactly the same way we did locally. Given the fact that it's gonna be an one-time training and not a recurrent job, there is no need to minimize our code and send only the necessary files.
gcloud compute scp --recurse /home/aisummer/src/soft_eng_for_dl/ training-instance:app

As you can see, on the left terminal we are connected to the gcloud instance and we list all of our recently transferred files using the command “ls” while on the right terminal we are inside our local system.
*The files you see is the whole project developed through the article series. For more details check our previous articles or our Github repo.
Running the training remotely
Now all we have to do is simply execute the main.py in the left terminal and the training will start immediately. Yeah I know that we forgot to install all the necessary dependencies such as Python, Tensorflow etc, but I trust that you can do that without my help. Just apt-get python and “pip install” all the libraries.
sudo apt install python3-pippip install -r requirements.txt
Tip: Google cloud provides many ready to use instances for various use cases. When we create the instance, we can choose a premade template that contains all of our essential libraries and languages.
Once the training is complete we can transfer back the saved model weights and perhaps the logs and I guess we are done. Note that as we did locally in the previous article, we can again monitor the logs during the training and we can even set up Tensorboard. As I told you many times by now, we can literally do anything we would do on our own laptop. But with a lot more resources and ready-made solutions.
gcloud compute scp --recurse training-instance:app /home/aisummer/src/soft_eng_for_dl/
What about the training data?
Those who have an inherited talent to observe the details, might have noticed that I deliberately haven't mentioned data up to this point. Until now I assumed that we bake the data within our application and upload them in the VM instance alongside with the code. So when the training kicks off, it reads the pet images from a local path. Of course that's not very efficient and should be avoided.
A better option might be to store the data in the cloud as well but outside of our computer environment. All cloud providers have a storage solution that enables us to do exactly that. AWS calls it S3, Azure calls it Azure Storage and Google calls it Cloud Storage.
Object storages are computer data storage architectures that manage data as distinct units called objects as opposed to other architectures which manage data as hierarchical files or blocks. Each object has the data, some sort of metadata and a globally unique identifier. Cloud storages provide security, scalability, flexible management and resilience.
Objects are organized in buckets and a project can contain multiple buckets. For example in our case we can create a bucket called “deep-learning-in-production-data” and save all of our pet images there. And that's exactly what we're gonna do.
We can create a bucket very easily by navigating to the storage browser and click “create bucket” to open the bucket creation form shown below.

We can of course have many buckets to organize our data as we want. Each has a distinct name, a location, a storage class and of course all of our objects.

When the bucket is created, we can upload an object directly from the UI. We can absolutely do all of that using the terminal or even http requests but I personally see no value in doing it.

Cool. As you can see we have our data uploaded and it's time to use them for training. This can be done very easily using tf.data and input pipelines as we explained in more details in a previous article about input pipelines.
filenames = "gs://deep-learning-in-prodiction-training-data/oxford_iiit_pet/*"filepath = tf.io.gfile.glob(filenames)dataset = tf.data.TFRecordDataset(filepath)
Or we can use TFDS ( Tensorflow Datasets) and do something like this:
tfds.load(name=" oxford_iiit_pet ", data_dir=" gs://deep-learning-in-prodiction-training-data/")
And that's it. We incorporate this small change into our input pipeline code, redeploy our application into the instance and it will automatically stream the data from cloud storage into our model during training. Finally, keep in mind that cloud storage is ridiculously cheap.
Conclusion
Today I tried to give you an overview of how easy it is to train a deep learning model and store your data in the cloud. Sometimes trying to run things locally and spend lots of money buying hardware and optimize your PC, it's just not worth it. Especially when there are so many ready-to-use solutions out there. If you ask me, I use cloud infrastructure on a daily basis and prefer it for most of my projects, because of its simplicity.
Admittedly, this is true not only for training ML models but also for serving them. As we will see in the next articles, it's very straightforward to deploy a service and use it to serve our users as it provides things like security, scalability and ease of maintenance. It's not just about the hardware it provides, It's about the abstraction it gives us to focus on the things that matter. We aim our focus on our machine learning model instead of how to build and optimize our infrastructure.
I hope that by now you become more familiar with cloud services and I would suggest to spend more time playing around, especially if you want to continue with us in this series. Because we're going to use it. A lot!
If you liked this article, you can show your support by sharing it!
As a side material, I strongly suggest the TensorFlow: Advanced Techniques Specialization course by deeplearning.ai hosted on Coursera, which will give you a foundational understanding on Tensorflow
Stay tuned for more AI articles.
References

* Disclosure: Please note that some of the links above might be affiliate links, and at no additional cost to you, we will earn a commission if you decide to make a purchase after clicking through.